
A few months ago, I pivot Neuledge to assist you in crafting custom AI models tailored to your business needs. There's a unique satisfaction in automating tasks that were once manual, and witnessing AI not only alleviate the hassle but also grant you more time to concentrate on activities you truly enjoy.
To ensure you have everything you need to kickstart customizing your very own AI model, I've put together a quick tool. It's designed to get you started on automating your tasks today, ultimately saving you valuable time.
Should you come across anything that seems unclear or too complex for your specific needs, feel free to drop me a reply. I'm more than happy to assist you.
Introduction
At the heart of automation lies ChatGPT, the foremost AI model available today, equipped with all the features necessary to kickstart your journey.
For ChatGPT to excel at its role, it requires insights into your business and specific examples or context regarding the tasks you want it to perform. This additional information enables us to guide the expansive language model toward optimal results, ultimately saving you time with each request.
At Neuledge, I've crafted a straightforward and complimentary tool designed to assist you in generating the essential context file. Once you've prepared the file, simply upload it to the chat, allowing the model to swiftly comprehend and adapt to your expectations. Let's make customization a breeze!
STEP 1: Upload your data
To kickstart the process of generating your context file, our tool requires access to your files and pertinent web pages containing information relevant to the task at hand.
💻 The tool is most user-friendly on desktop, so if you're currently reading this on your mobile device, now's the perfect moment to switch to your desktop and open the tool at 👉 neuledge.com
Uploading files and documents
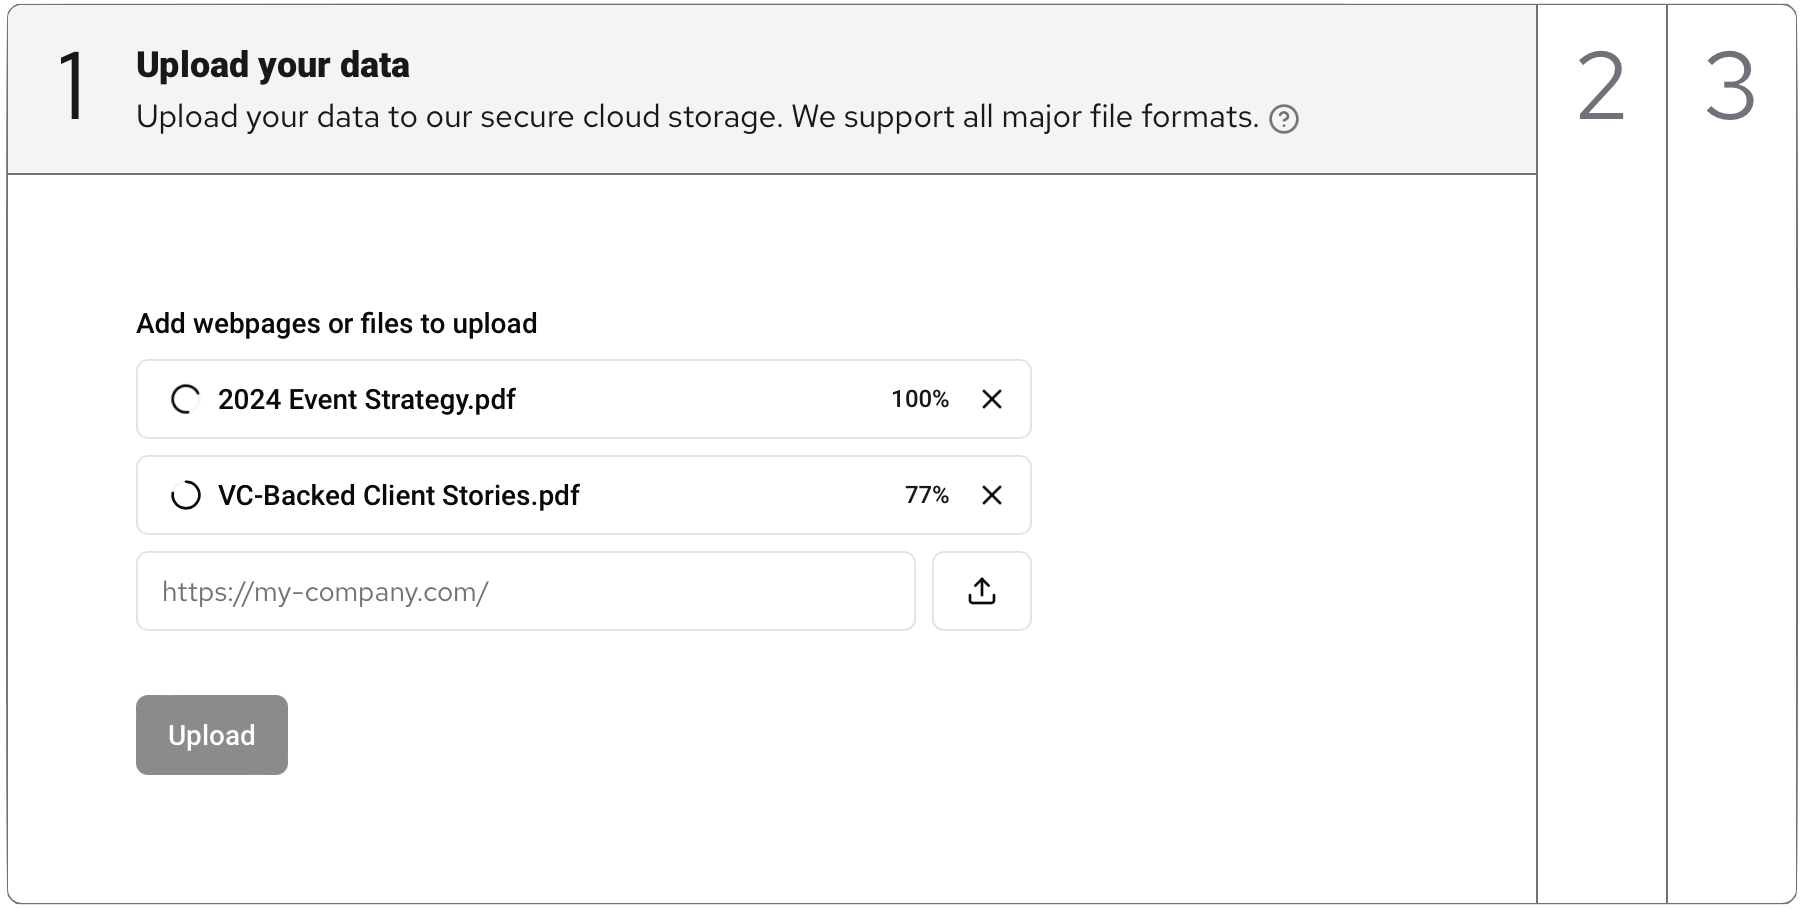
Begin by uploading any PDF or Word Documents you possess. The tool also supports text files:
If your file format isn't supported, drop us a note, and we'll check if we can add support for those files for you.
Scanning your website content
For those with a website or a public knowledge base, simply input the URL of your website and click on the “Plus” button. Our tool will meticulously scan your website, including all its subpages, and add them to the context file:
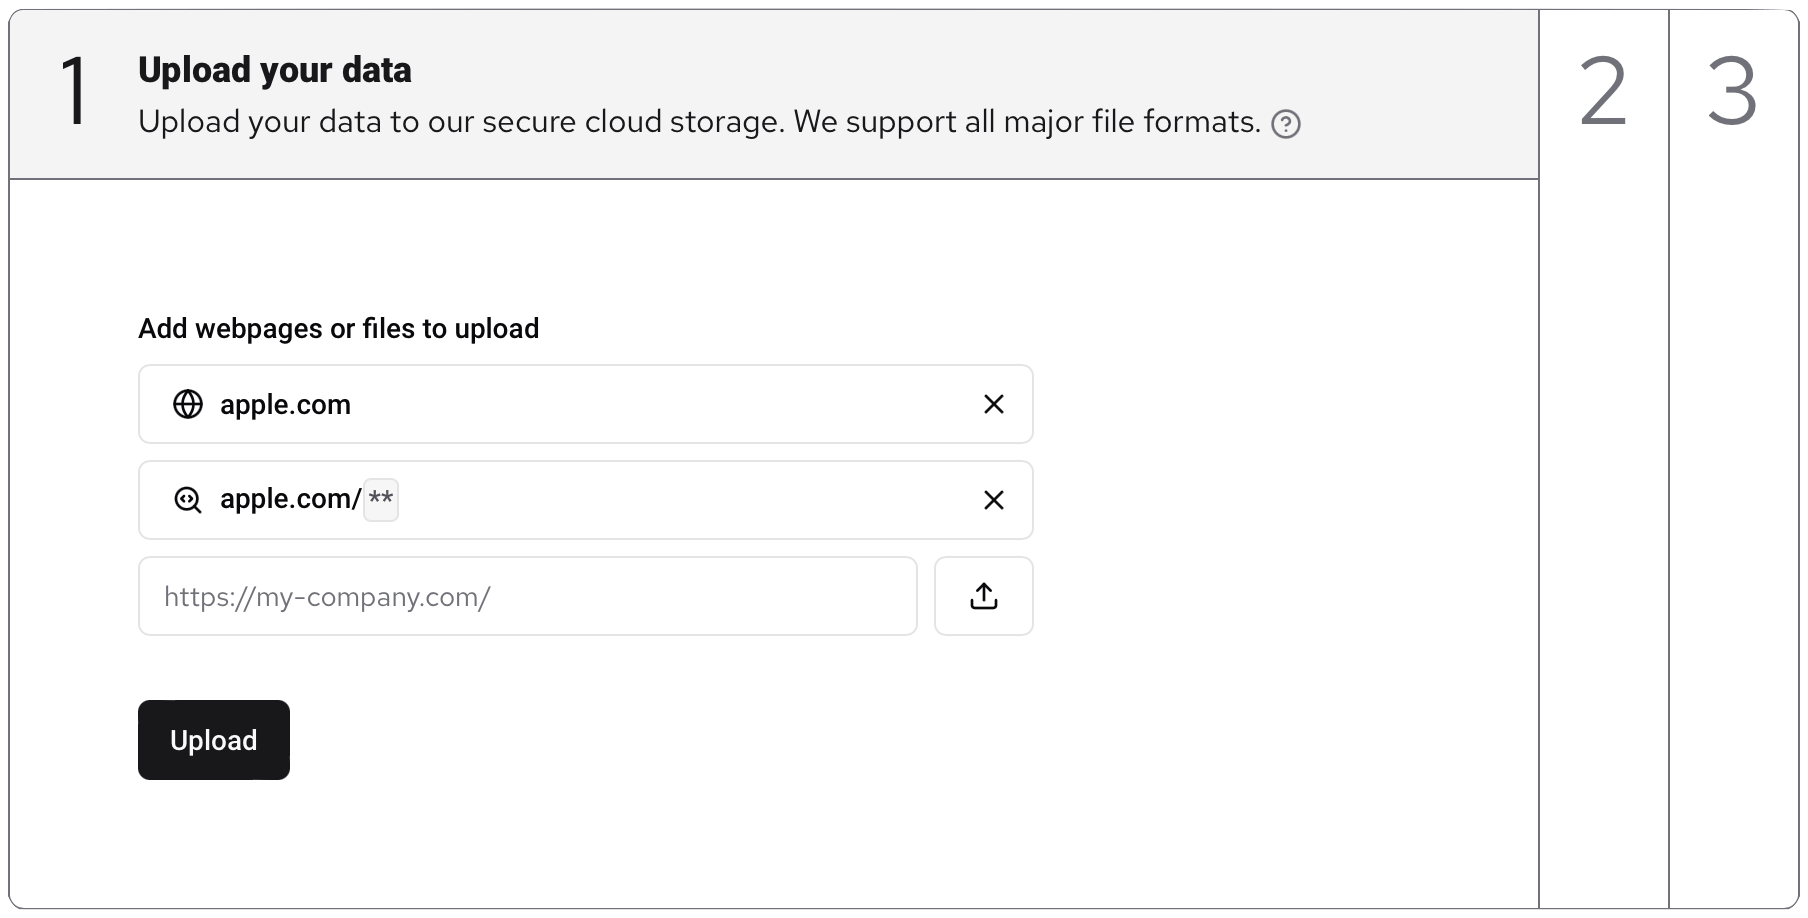
Kindly note that there's a size limitation, and we only allow scanning websites with fewer than 50 pages. If your website is larger, you can control which pages the tool should scan by editing the wildcard mark.
For instance, if you only want to scan web pages under "example.com/use-cases/", replace the default scanning pattern example.com/* with the following: example.com/use-cases/*
If you encounter difficulties scanning only the pages you need, send me a note, and I'll do my best to assist you in finding the right scanning patterns.
STEP 2: Refine your data
Once everything is set up, click on the “Upload” button and patiently wait, ranging from a few seconds to a few minutes, for the tool to download and process your data.
If, for any reason, we can't extract sufficient data from the provided context, it'll highlight problematic items in red and notify you. To bypass the error, simply remove the red items and proceed with the others.
Verify the content of the files
After the processing is complete, the tool will guide you to the second step:
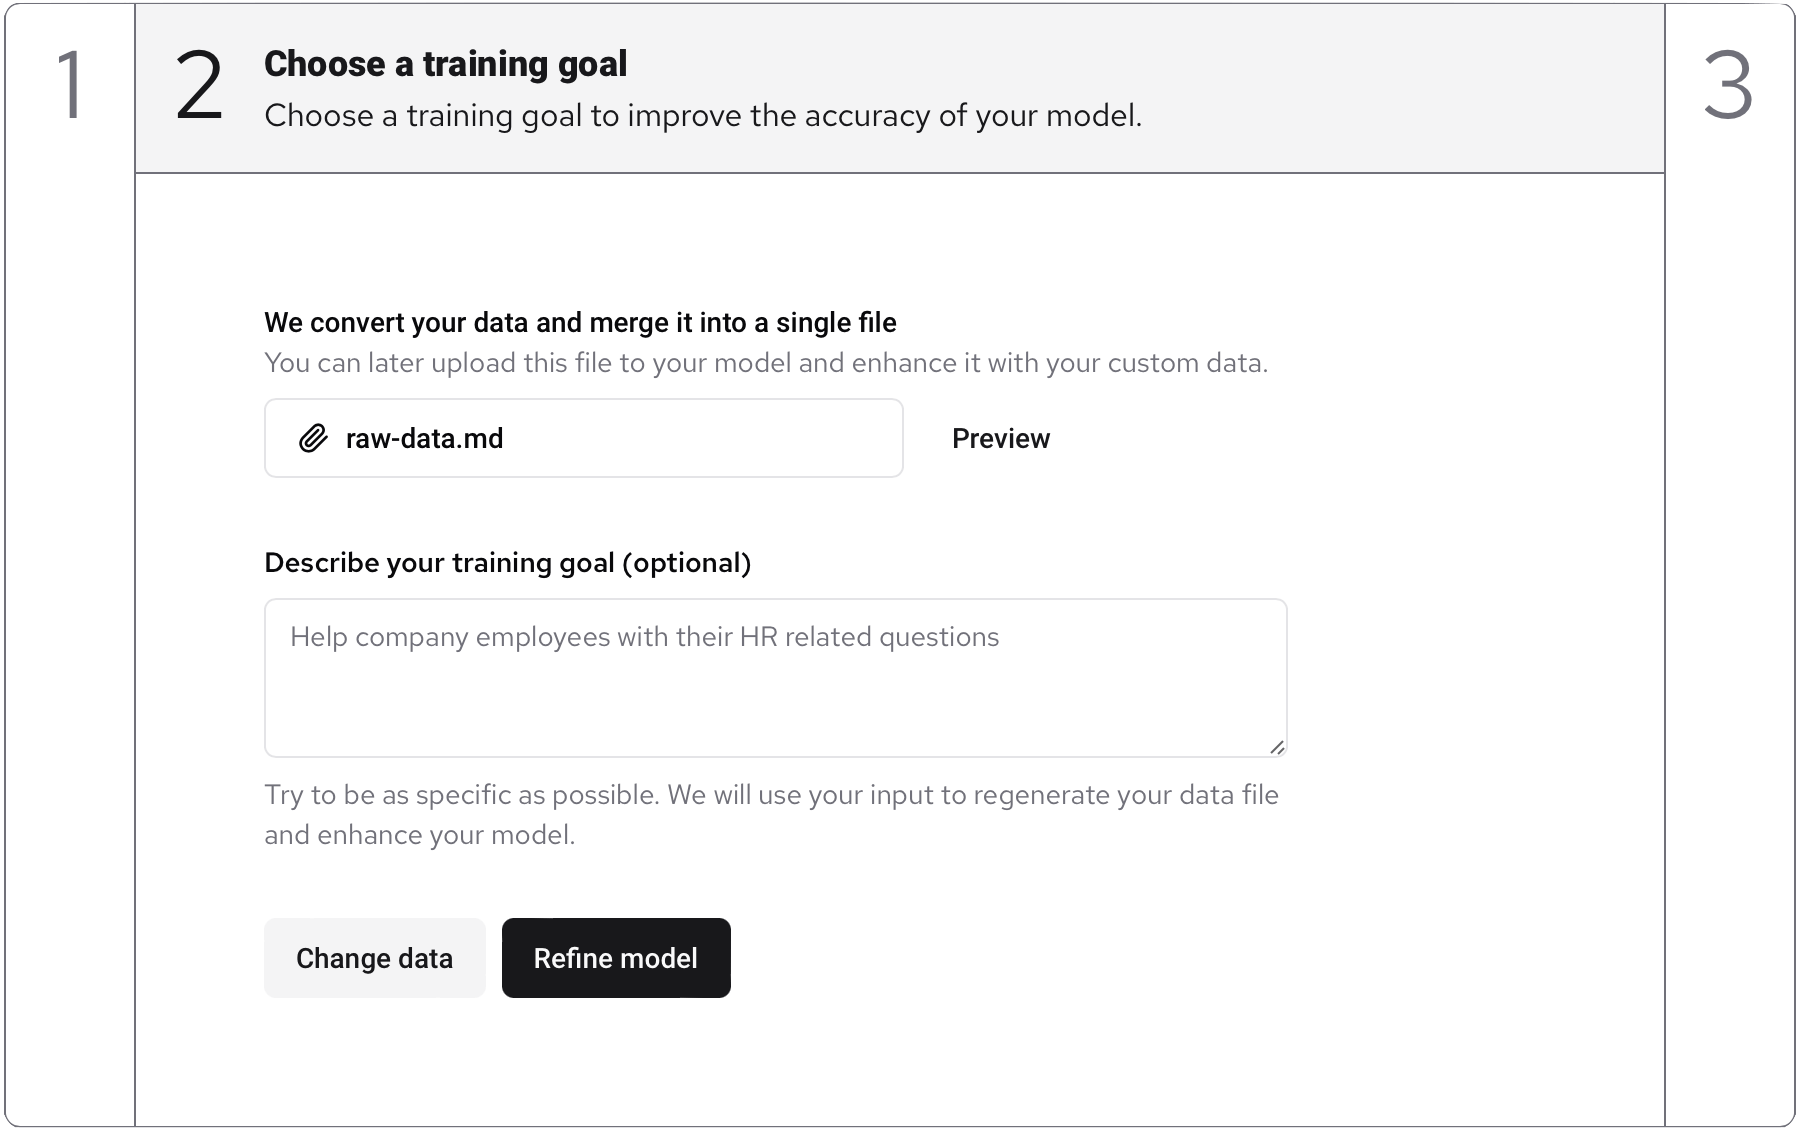
To ensure all essential data is present, click on the “Preview” button. You'll get a rough example of how the AI model perceives your data. Don't worry if it appears in a slightly broken or unpolished format; we only require the content to be present.
If you believe we can enhance file processing or if a significant portion of your data was missed, drop me a note, and I'll do my best to assist. For PDF uploads, ensure the PDF is exported as text, not as images of the text.
Define the training goal
The final step in creating your context file is defining the goal you aim to achieve. Provide a brief explanation in the textbox to help us refine your data and align it with your objective.
Click on “Refine” and let the tool reprocess your data. This step should be much quicker, and you'll have the final context file as a result. Ready to make your data work for you!
STEP 3: Using your context file
Now that your context file is ready, you can download it and integrate it into any interaction with ChatGPT:

There are several methods for utilizing the context file:
- Directly upload it to the current ChatGPT chat (Exclusive to Premium users).
- Create a custom GPT on: chat.openai.com/gpts/editor
- Leverage the Assistant API to generate a personalized API endpoint with your data, suitable for use with third-party services like Zapier or Retool.
Test your AI models and observe their performance. If you believe something could be improved, try running the steps again with different resources or training goals. Feel free to experiment multiple times until you achieve optimal results.
Final words
I trust you find this tutorial helpful and that it provides you with a clearer understanding of how to tailor ChatGPT to meet your requirements. If you appreciate it or wish for me to delve into more advanced topics such as API integrations and no-code automations, simply reply and let me know!
Your feedback is highly valued ❤️


